
When I got my first Fotoman Professional camera, the 69HPS, I conducted as much research as I could about the camera and how to maintain it. For the most part, the info on these cameras online is extremely scarce. But one piece of advise that I kept coming across in forums was that, upon arrival of your camera, you should disassemble and re-tighten all the fasteners using Loctite. Once I got my 69HPS, everything felt solid and I decided taking it apart was a little extreme. That ended up being a critical mistake.

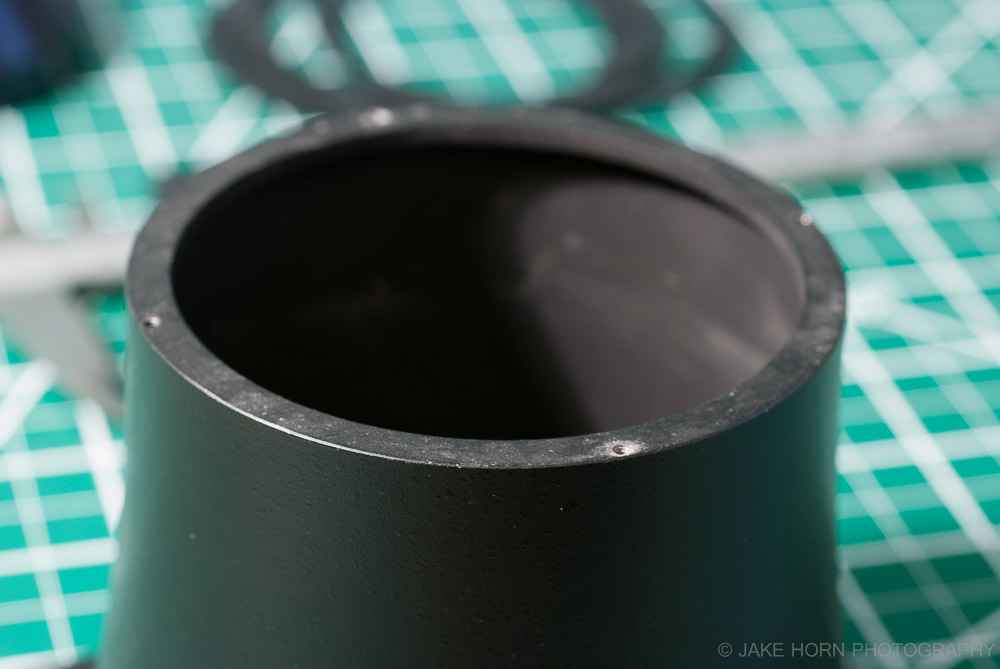
Lens cone for Fotoman 45SPS. Shares helical with the medium format models.
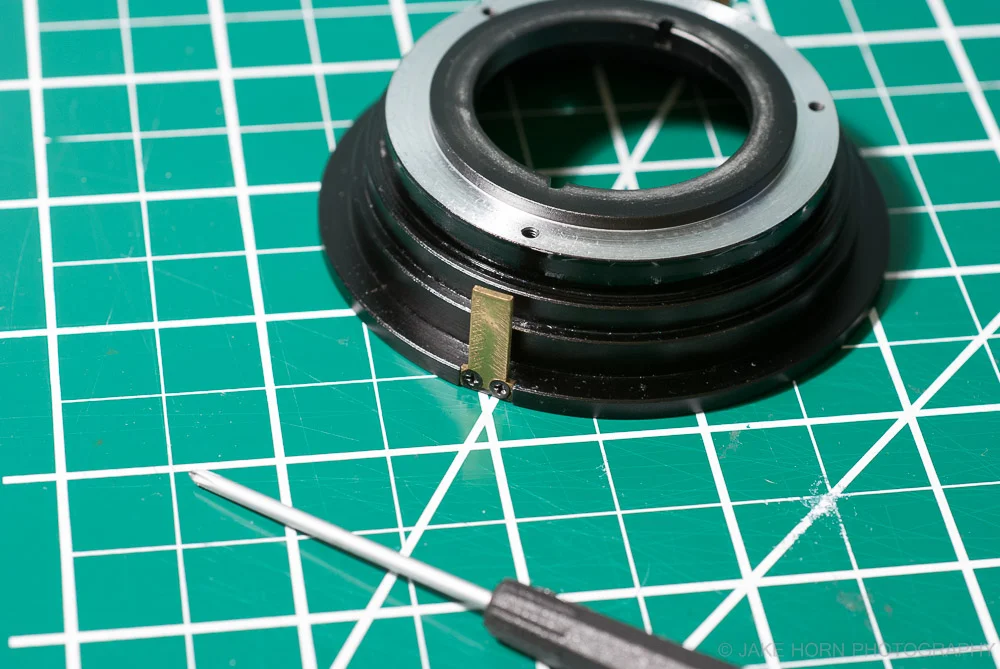
Large format lens lock ring. Using a spanner wrench to install.
The first trip with my new Fotoman was a two week circle tour around Iceland. I had five months to get used to the camera and all of my tests went great. I never thought twice about bringing it, even though it was a new piece of equipment. Once on the Island, I noticed that the lens and shutter began to feel loose. This steadily got worse until I found that the helical mounting flange was separating from the cone body. Fearing the worse, I began to worry that the threads in the cone were stripped (was I too rough with the camera?).
To my relief, the mounting screws had simply backed out. This more than likely was a result of the constant vibrations in the airplane overhead. Thank goodness I was prepared for the worst with the necessary tools to work on this issue. The only problem...I was figuring out how everything goes together for the first time, in the field, in a foreign country.

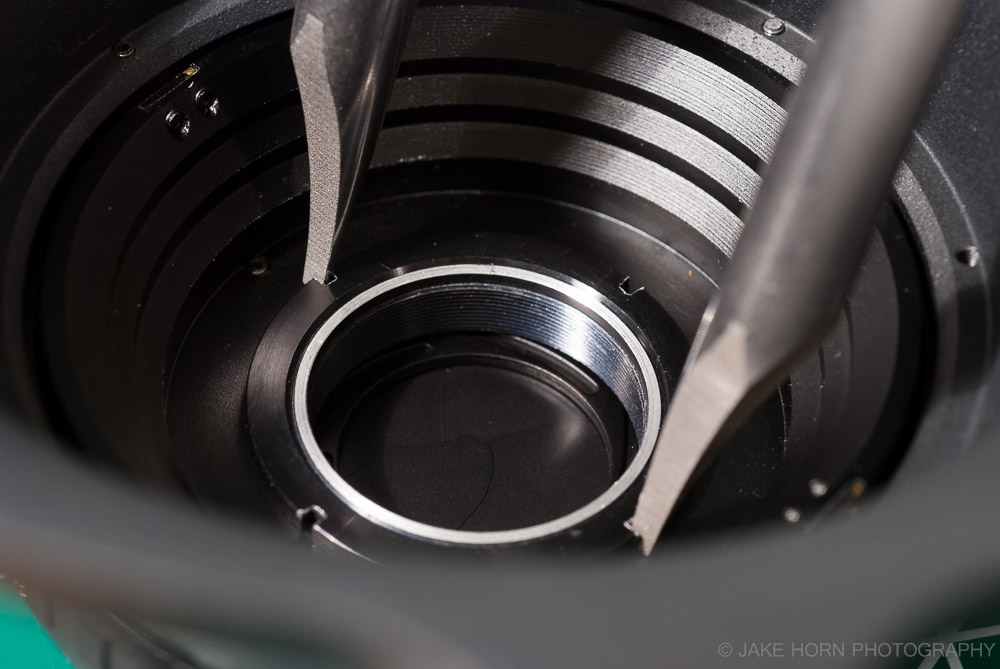
Removing the lens guide
After removing the lens elements, shutter (always bring a spanner wrench!), lens guide, and helical, I was finally at a point where I could re-secure the helical mount. There are four screws that mount this bracket to the main body of the cone. I tightened these up using my Stanley 4-in-1 Pocket Driver. You should use Loctite if you do this at home.

The culprit, helical mount screws worked their way loose
Helical Flange Mounting Surface (4 attachment points)
While putting Humpty back together, I noticed some more loose fasteners. This time, at the brass guide pins on the lens follower. After tightening these (two for each guide), I proceeded with the remaining assembly.
Brass lens follower pin
Now that the camera was back together, everything worked great and felt solid. I have not had any problems since that trip in 2013. I don't feel this was the result of shoddy craftsmanship. Most of the components are soft metals including brass and aluminum. After the original assembly, and once everything settles in, it makes sense that a little tightening will be required. Plus, seeing that the components are meant to be modular, I assume Fotoman Professional would not want to make swapping parts or adjustments difficult by bonding everything together.
If I had heeded the original advise to perform some much needed preventative maintenance, I would have never had a failure on a trip. Good thing I brought my Voigtlander Bessa IIIW, which became my go to workhorse for most of the adventure.
If you have any additional questions about Fotoman maintenance, please click on the contact button below.